How Do You Test Seal Integrity on a Foil-Lidded Tray?
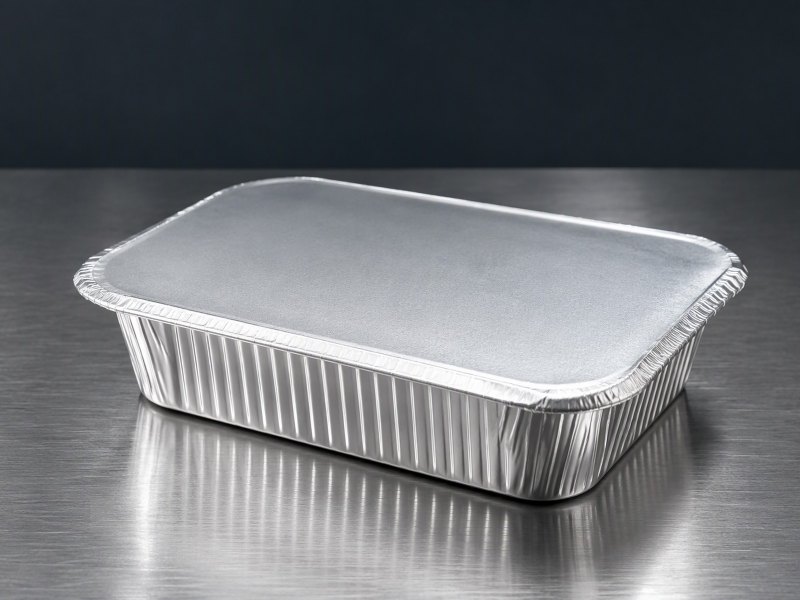
What peel, dye and pressure tests each prove about a tray seal, and where they are blind.
How Do You Test Seal Integrity on a Foil-Lidded Tray?
A tray that arrives leaking ruins the whole pallet, and the seal looked fine when it left. Most leaks are decided long before anyone peels a lid.
Seal integrity is tested by either pulling the lid off and reading the bond, or by holding pressure or vacuum on the closed tray and watching for a fall-off. Dye, pressure decay and peel each expose a different defect, so one method alone never proves a tray is sound.
This page works through what each test measures, where it goes blind, and how tray, lid and machine settings decide the result.
What Does 'Sealed' Have to Mean on a Foil-Lidded Tray?
A lid that stays on is not a seal. The tray is sealed only when the bond runs continuously around the whole rim, with no gap on that path.
Sealed means a continuous heat-seal bond along the full flange, strong enough to survive handling and temperature change. Any interruption in that ring is a leak path.
Dive deeper
Packing teams often treat 'the lid did not come off' as proof of seal. It is not. A lid can cling to a rim through friction, through a patch of tacky lacquer, or through the grip of a curled flange, while an open channel runs beside it.
The requirement is narrower: the two surfaces must be bonded continuously, so that no route exists from the product side of the rim to the outside air. Continuity is the part of the word that matters. A bond covering most of the rim and stopping at one spot behaves, from the product's point of view, like no bond at all in that spot.
Gas, vapour and liquid do not average out along a rim; they take the open route. That is why a tray can pass a quick squeeze on the line and still arrive wet.
The ring that has to be complete includes corners and short ends, not only the long runs where the bar sits most comfortably. A flange that is flat on the straight and slightly dished at the corner asks the same bar to bridge a gap it cannot see. Foil is a thin rolled sheet whose behaviour under a hot bar follows its gauge and temper, as the Wikipedia entry on aluminium foil sets out.
Why Can a Seal Look Perfect and Still Leak?
A clean, flat rim with an even imprint looks convincing under a lamp. Appearance shows where the bar pressed, not where the surfaces welded.
Leaks hide in channels: a wrinkle folded into the seal, a speck of product on the flange, a low spot in the wall. The bond closes around the obstruction.
Dive deeper
Three things create a channel under an apparently good seal. The first is a fold: a small wrinkle in the lid stock or in the flange rolls into the seal area and holds the surfaces apart along its length, like a straw laid across a joint. The second is contamination: powder, oil, sauce or condensation on the flange keeps the lacquer from wetting the metal, and the seal closes on either side of the spot rather than over it. The third is geometry: a rim that dips where the tray wall draws thin gives the bar less contact pressure where the gap is largest.
All three leave a mark that reads as normal. The imprint is there, the lid is tight, the corner is not lifted. What is missing is a continuous weld line, and nothing visible tells you it is missing.
Why the imprint misleads
An imprint records pressure and heat, not bonding. Lacquer can flow and print a crisp pattern while still failing to adhere, particularly when the coating has not softened through its full thickness. Two trays from the same stack can behave differently, because the one at the edge met the bar with a slightly cooler surface, and a cooler surface changes how much lacquer flows before the joint closes.
What Is the Difference Between a Destructive and a Non-Destructive Seal Test?
One test ends the life of the tray and shows how strong the bond is. The other leaves it intact and shows whether it holds pressure.
A destructive test peels the lid back and reads the bond: where it transferred and how the failure looks. A non-destructive test presses the closed pack and watches for a fall-off.
Dive deeper
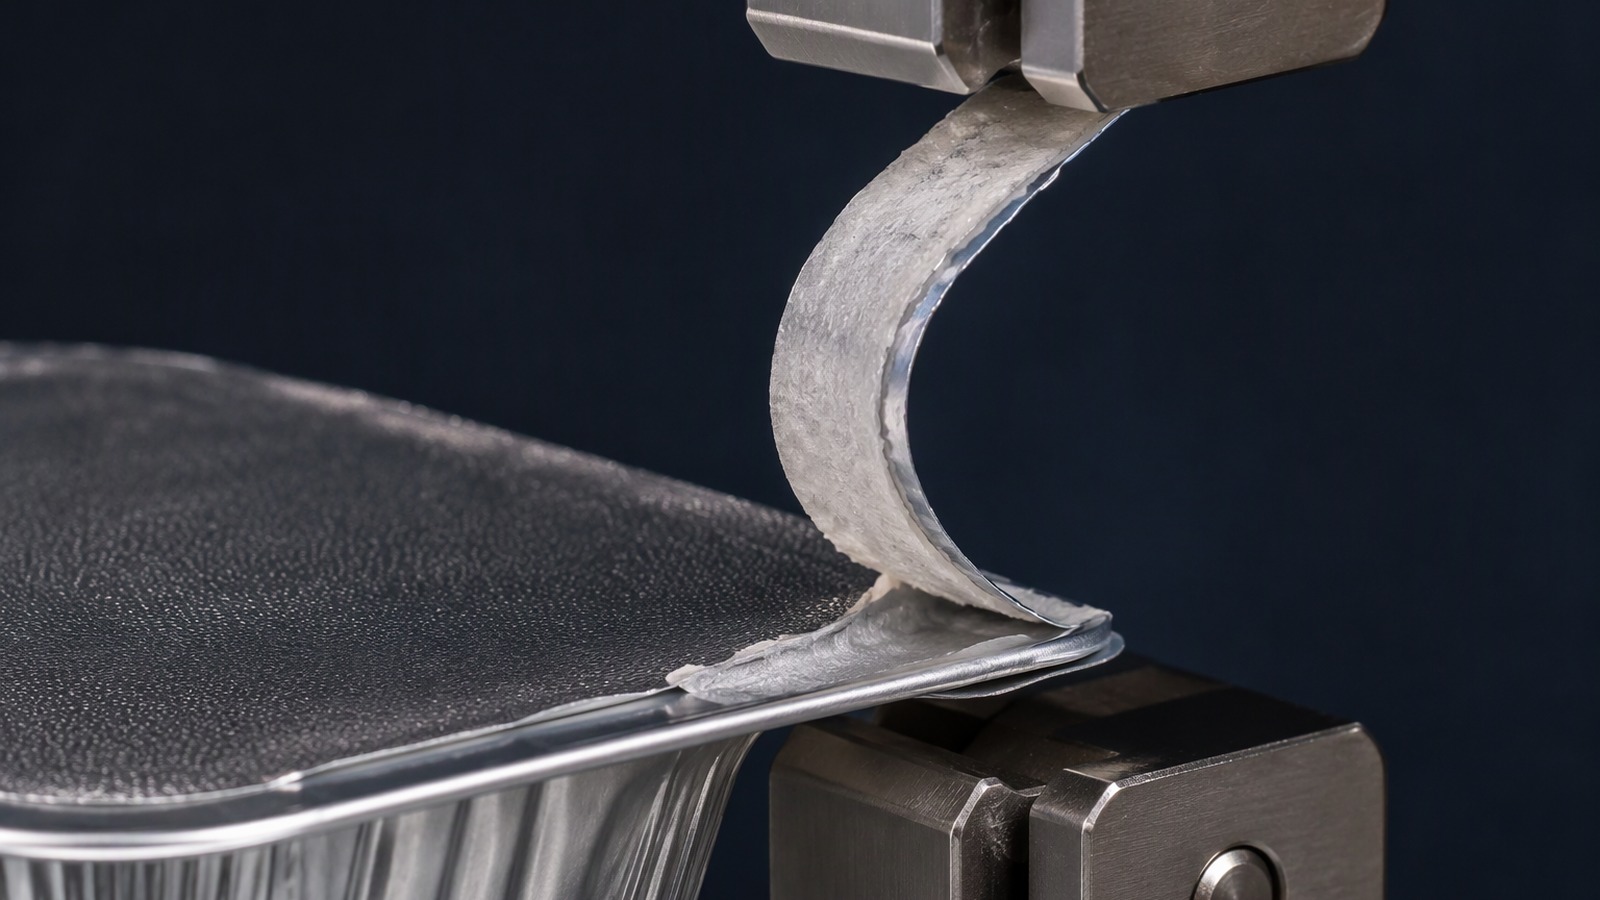
Peeling the lid is the only way to see the bond itself. The lid is lifted at a corner and pulled back at a steady angle, and the person doing it reads two things: whether the bond resists, and whether the failure runs through the lacquer or along the metal. A bond that releases from the tray and leaves lacquer on the lid failed at the interface.
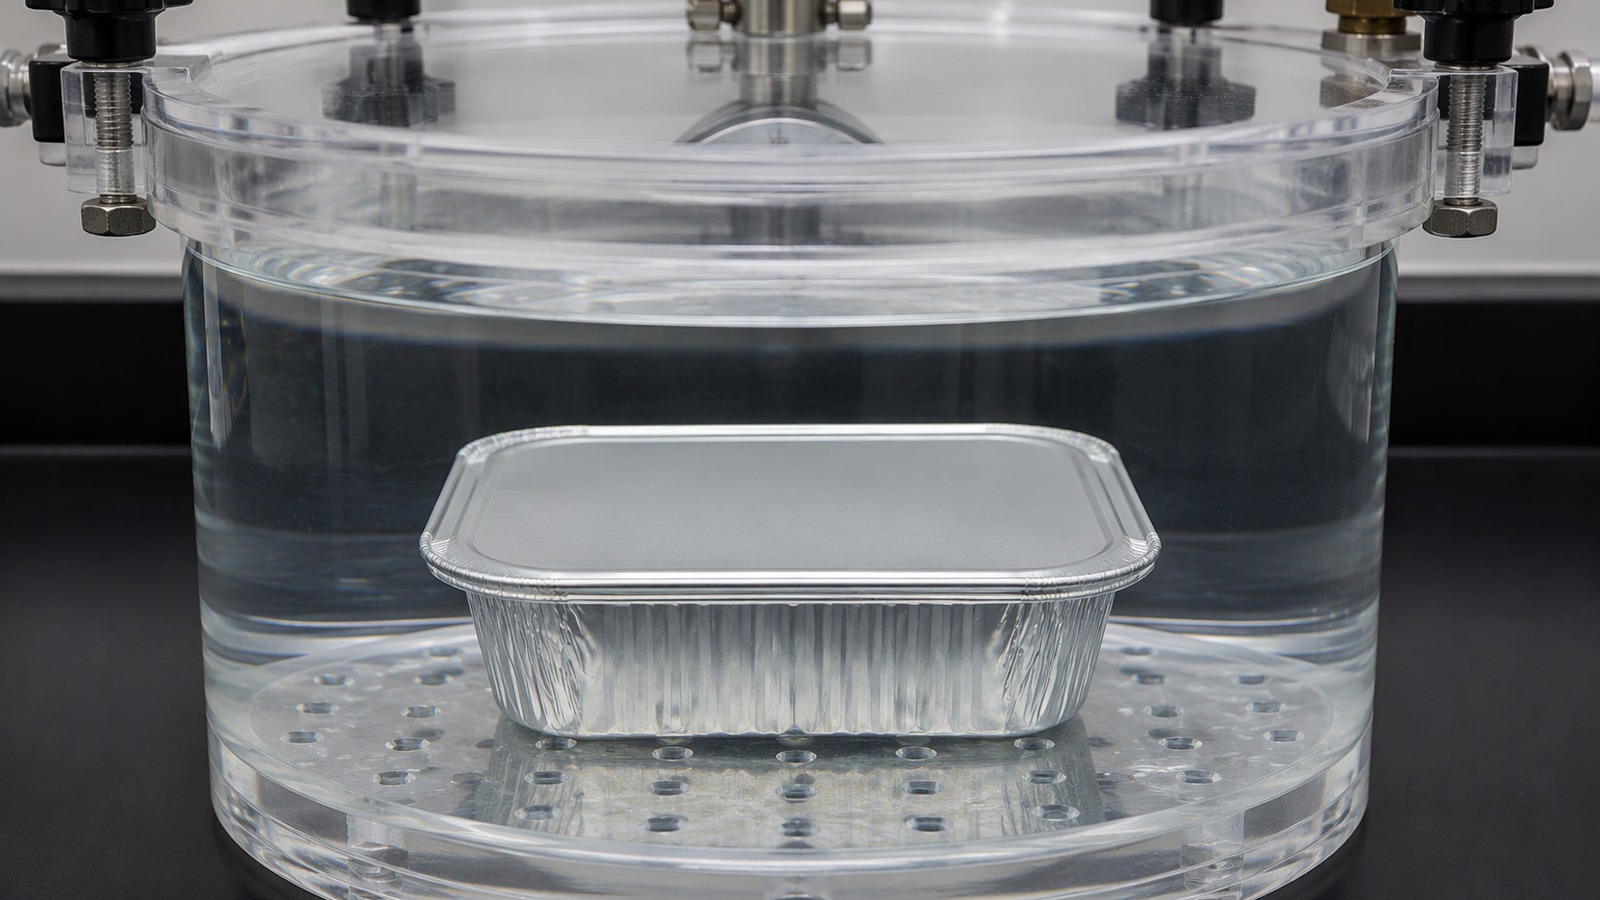
Holding pressure or vacuum asks the whole pack a yes-or-no question instead. The closed tray sits in a chamber or on a plate, a differential is applied, and the operator watches a gauge or a water column for a fall-off. Nothing is opened, so the same tray can go into a case afterwards.
Neither test replaces the other. A peel gives bond strength and failure mode on a tray that is now scrap; a pressure hold says whether a tray leaks but not why. Run only the destructive test and you learn nothing about the trays you ship. Run only the non-destructive one and, when a tray fails, you have no idea which variable to change. How a foil joint is formed decides what a peel will show, so the two are read together.
Industry bodies such as the Aluminum Association describe aluminium in packaging only in general terms.
Why Does Dye Penetration Find a Different Defect From Pressure Decay?
One method looks for a path a liquid can travel; the other measures how fast gas leaves a closed volume. The defects they find are not the same shape.
Dye is a tracer and stains the inside wherever an open, wetted channel passes through. Pressure decay reads a rate of loss instead.
Dive deeper
Dye penetration is a direct question about a route. The tray is closed, dye is applied to the rim, and the operator looks for colour on the product side. What it finds is a path that is open, continuous and wettable at the moment of the test. That is a narrow definition: dye points to a channel well and says little about how bad the leak is.
Pressure decay measures loss from a sealed volume. It responds to a defect that passes gas under the applied differential, which is not the same as a path that passes liquid at rest. A pinhole in the lid or a channel that only opens when the pack is squeezed shows in a pressure test sooner than in a dye bath. The reverse also happens: a channel fine enough to hold gas but wide enough to wick liquid can pass a pressure hold and still stain a carton.
Dye has a blind spot of its own. It reports only what it can touch and wet, so a channel blocked by product or a fold that closes under the liquid will not stain. Pressure decay has the mirror problem: it reports a total loss, so a hole in the lid stock and a hole in the seal look identical.
Why Does a Corner Leak Behave Differently From a Leak Along a Straight Run?
A corner is where the flange turns and the lid gathers. A straight run is where the bar meets a flat surface and pressure is even.
Corner leaks are usually pleats that never welded. Straight-run leaks are usually contamination, a scratch or a low spot.
Dive deeper
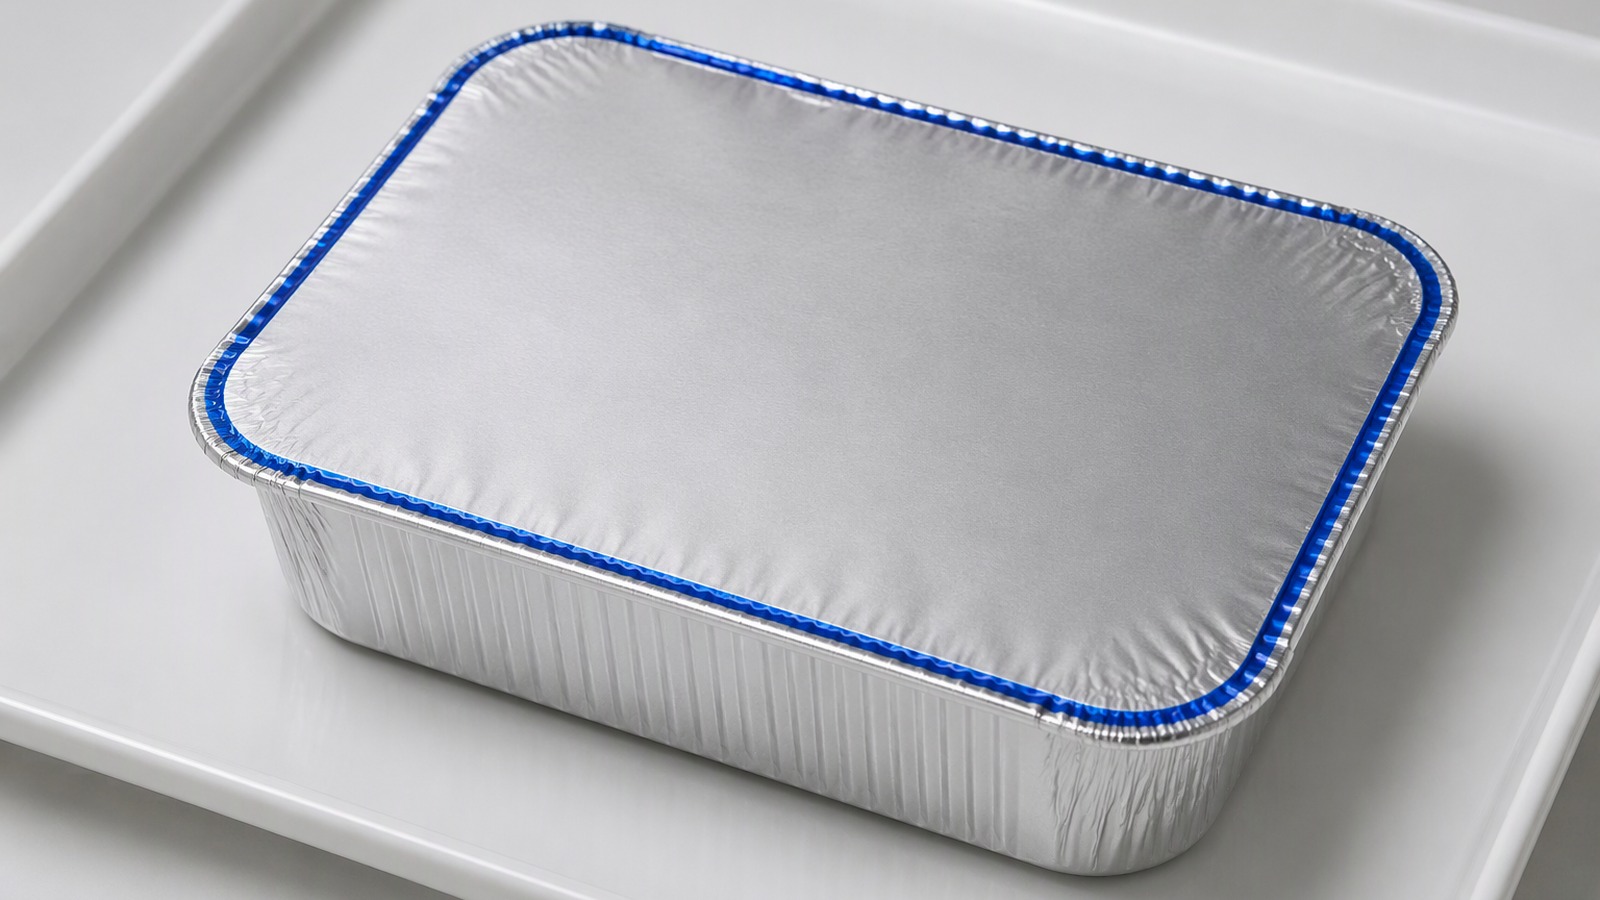
When a lid closes over a corner, the foil has to fold on itself, and those folds place two layers of material between the bar and the tray where there was one. Heat has to travel through both, and the lacquer has to soften against a surface curved in two directions. A pleat that does not weld leaves a channel running diagonally across the corner, and the corner also carries the highest handling stress.
Along a straight run the mechanics are different. The bar meets a flat, parallel surface and the pressure is even, so a leak in the middle of a long side is more often a speck of product, a scratch in the coating or a dip in the flange than a fold. Straight-run leaks tend to be longer and narrower, which suits dye and defeats a short pressure hold.
The consequence is that sampling only the middle of a long side misses the corner defects that cause most transit failures, while sampling only corners misses the contamination along the bar. Position matters as much as number. It also matters which tray is tested: stock drawn from 3004 aluminium foil at 0.03 mm is alloyed for container strength and springs back differently from softer tray gauges, so the corner is where that difference shows first.
Why Does the Product Inside Decide Which Test Is Valid?
A dry pack and a liquid pack fail in different ways, so one test does not carry the same meaning for both.
In a dry pack a leak shows as moisture ingress or gas loss. In a liquid pack the product wicks through and stains the outside.
Dive deeper
In a dry pack the headspace is mostly air and the contents do not move. A leak then shows up as moisture coming in over time, as the loss of a protective gas blanket, or as a slow change in the product rather than as a wet carton. Pressure decay suits this case because it measures the gas side directly, and dye only locates a path that a pressure result already flagged.
In a liquid pack the product is the tracer. It wicks through a channel, stains board and gets outside where anyone can see it. Dye testing a liquid-filled tray is therefore partly redundant, while the pressure result is more informative, because it says whether the pack as built actually closes. For a dry pack the balance shifts the other way.
The product also decides what the seal has to resist. A hot-filled sauce, a frozen meal and a dry snack present the flange with different amounts of oil, steam and mechanical load, so the bond that is adequate for one is marginal for another. Lidding stock such as 8079 aluminium foil at 0.07 mm is chosen for its barrier and stiffness, and that stiffness changes how the lid behaves over a corner and how much it resists a peel.
Why Do the Tray, the Lid and the Sealing Window Have to Be Right Together?
A seal is three inputs meeting at one moment: the flange the tray presents, the coating the lid carries, and the window the machine applies.
Change one input and the bond changes, though nothing on the line looks different. A fault after a material switch is rarely solved by turning one dial.
Dive deeper
Tray geometry sets the first limit. A flange that is not flat, is too narrow, or carries contamination on the inner curl cannot be sealed by any lid, however good the coating. Lid structure sets the second: the lacquer has to soften inside the window the machine can hold, and the carrier has to stay flat enough to keep contact across the whole rim. The window sets the third, because temperature, pressure and time act as one variable.
Because the three interact, the usual repair is the wrong one. Raising temperature when the real problem is a flange that no longer sits flat over-cures the lacquer where the joint was already good and leaves the low spot untouched, so the pack tests worse afterwards. The same logic appears where a coating is bonded to a container mouth, as with foil for induction seal liners, where the bond forms through the coating rather than from a bar on a flange.
What ties them together is the test itself. A peel result is a statement about one tray, one lid lot and one window, and it stops being valid the moment any of them changes. That is why a seal check is worth repeating after a resin change, a supplier change, a machine service or a long stop.
How Do You Choose a Sample, and What Should a Supplier Know Before Quoting?
A sample is only useful if it represents the run. Trays from the top of the first stack show the machine at its best.
Draw across the run: start, middle and end, more than one lane, outside and inside of the stack, and units that have been through downstream handling.
Dive deeper
Building a sample that stands for the run
The number of units is a judgement about risk, not a fixed rule. Take enough that a single leaker cannot hide inside an average, and enough that the result can be repeated on a second draw. If the process is new, or a material has changed, sample more heavily at the start and reduce once the result is stable. Keep the failed units: a pack that leaks with the lid still on shows the failure mode, not only the fact of failure.
What a supplier needs before quoting
Before a lidding foil can be quoted sensibly, a supplier needs the tray material and gauge, the flange width and shape, the lid structure and coating, the fill and the headspace, the sealing method the machine uses, the ranges the line can actually hold, and the conditions the finished pack will meet in transit. A request for a number before those are known will be a guess dressed as a quotation.
The structure normally starts from the packaging and container foil range, where tray stock and lidding stock are treated as different products because they fail differently. Industry sites such as the aluminium foil association for Europe publish general material information that helps a buyer frame those questions, and Europe's aluminium industry association covers the wider market, but neither can answer for one tray on one line.
A seal is only proven by a test that matches the defect you fear. Peel, dye and pressure each answer one question, and none of them answers all three.