What Is a Splice in an Aluminium Foil Roll, and Why Is It There?
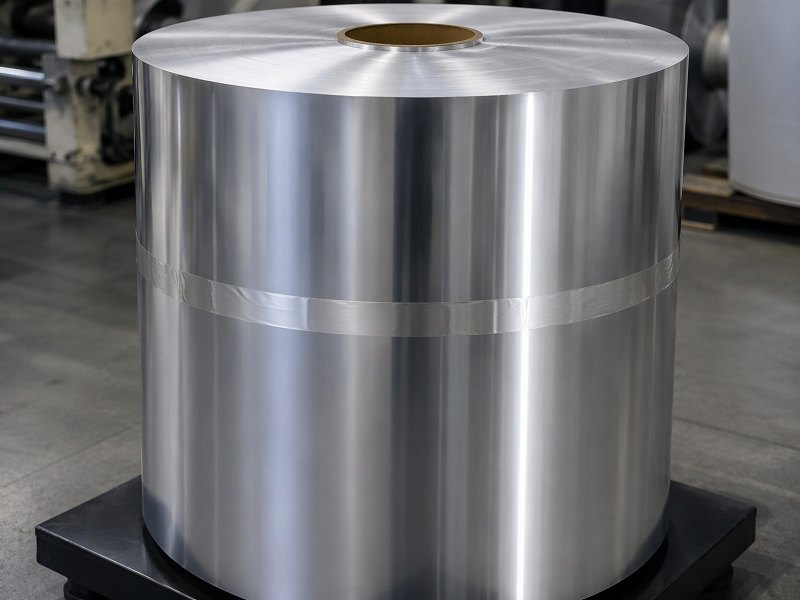
A splice is the joint where one coil ends and the next begins inside a shippable roll. Here is what it is, how it is made and marked, and what it does to a press, a laminator or a packing line.
What Is a Splice in an Aluminium Foil Roll, and Why Is It There?
A splice arrives at the worst moment: mid-run, mid-order, mid-shift, and the roll that looked continuous on the pallet turns out to be two coils joined.
A splice is the joint, inside a finished roll, where the end of one coil is attached to the start of the next. It is planned rather than accidental, and it is marked so the line can prepare.
The joint is small, but it changes what happens at the unwind, in the dryer, at the laminator nip and in the carton. Eight questions follow it from metal to machine.
What is a splice, physically, inside an aluminium foil roll?
Run a hand over the outer wraps and the joint shows as a ridge: two thicknesses, a strip of tape, and a short step where the web changes.
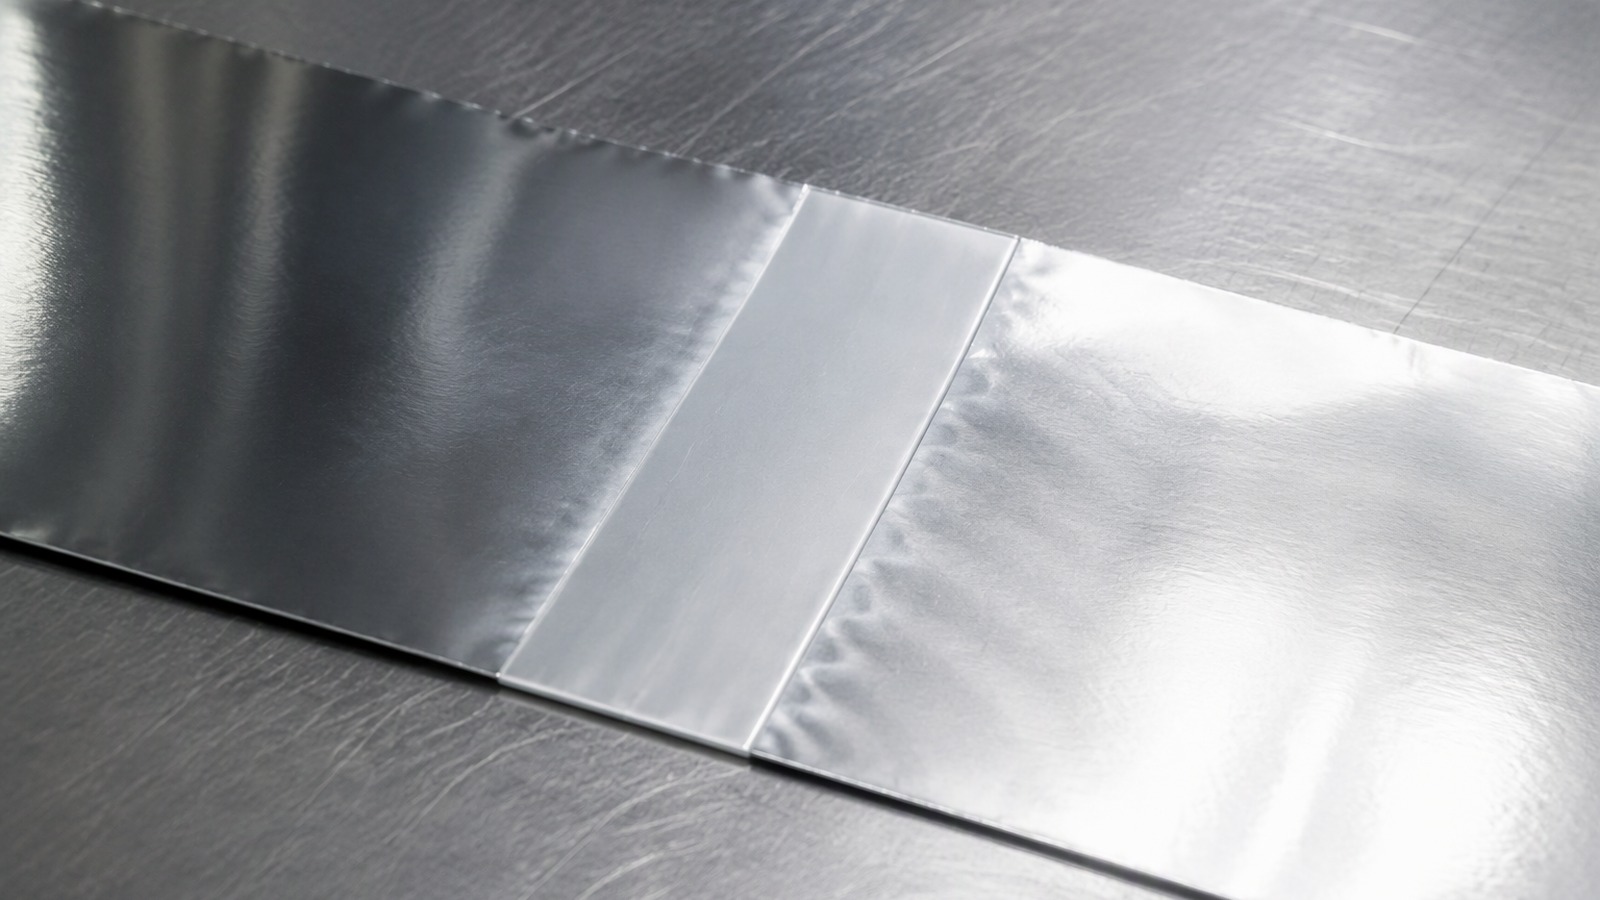
It is two lengths of foil joined across the web, by overlap or butt, held with tape or a welded seam, so the line can keep pulling one continuous web.
Dive deeper
Start at the metal. Foil is rolled from cast slab, and a mill delivers a coil of finite length, not an endless ribbon. Every coil has a beginning and an end. A roll that must ship a long length is wound from more than one of those coils, and the place where one ends and the next begins is the splice. It is a deliberate connection.
The common forms are plain. In an overlap joint the tail of the finished coil lies on the lead of the new one, and tape bridges both across the full width. In a butt joint the ends meet edge to edge, taped on one face or both. Some lines weld or ultrasonically bond the ends instead, so the connection is metal to metal. Either way the result is a local change in thickness, stiffness and surface.
You can see it before anything is unwound. The outer wraps show a slight ridge, sometimes a tape line, sometimes a folded tab at the edge where the marker sits. It is not a repair: it is the seam between two coils made separately and joined into one shippable roll. Background on the metal sits in this entry on aluminium foil and how it is rolled.
Why does a foil roll contain joints instead of one unbroken length?
Because the length on a roll is set by coil mass, handling and yield, not by the ideal of a seamless sheet.
A single coil has a finite wound length and a mass that cranes, chucks and floors can carry. Longer shipped lengths are built by joining coils, and removed defects add joints of their own.
Dive deeper
A mill winds what its winder and its handling can take. Coil mass is limited by the mandrel, the crane, the chuck on the customer's unwind and the floor loading, so a coil has a practical ceiling. Once reached, the mill cuts and starts again. The foil is not weaker at the cut; the coil ends, and the next begins on a fresh mandrel.
Downstream, a slitter or a coating line would rather not stop for every parent coil. Joining the tail of the finishing coil to the next keeps the line running, and the joint passes into the slit rolls. That is why a joint appears mid-roll in a roll bought as one item: it was inherited from the parent coil. The path is set out in how a jumbo roll becomes a slit roll.
Cut-outs are the second source. A measured defect is removed by cutting the web and joining the two sound ends, which keeps good metal in the order instead of scrapping a coil. Refusing every joint is a legitimate purchasing position, but it has a cost, and that cost belongs in a conversation, not a guess. What matters is that every joint is declared and marked where the operator can see it.
How is a splice made on a running line without stopping it?
The line does not stop; only the unwind does. An accumulator gives the operator the seconds needed to join one coil to the next.
A loop of web waits in a festoon, the empty mandrel stops and swings out, the new coil is aligned and joined, and the loop pays out until the new coil takes over.
Dive deeper
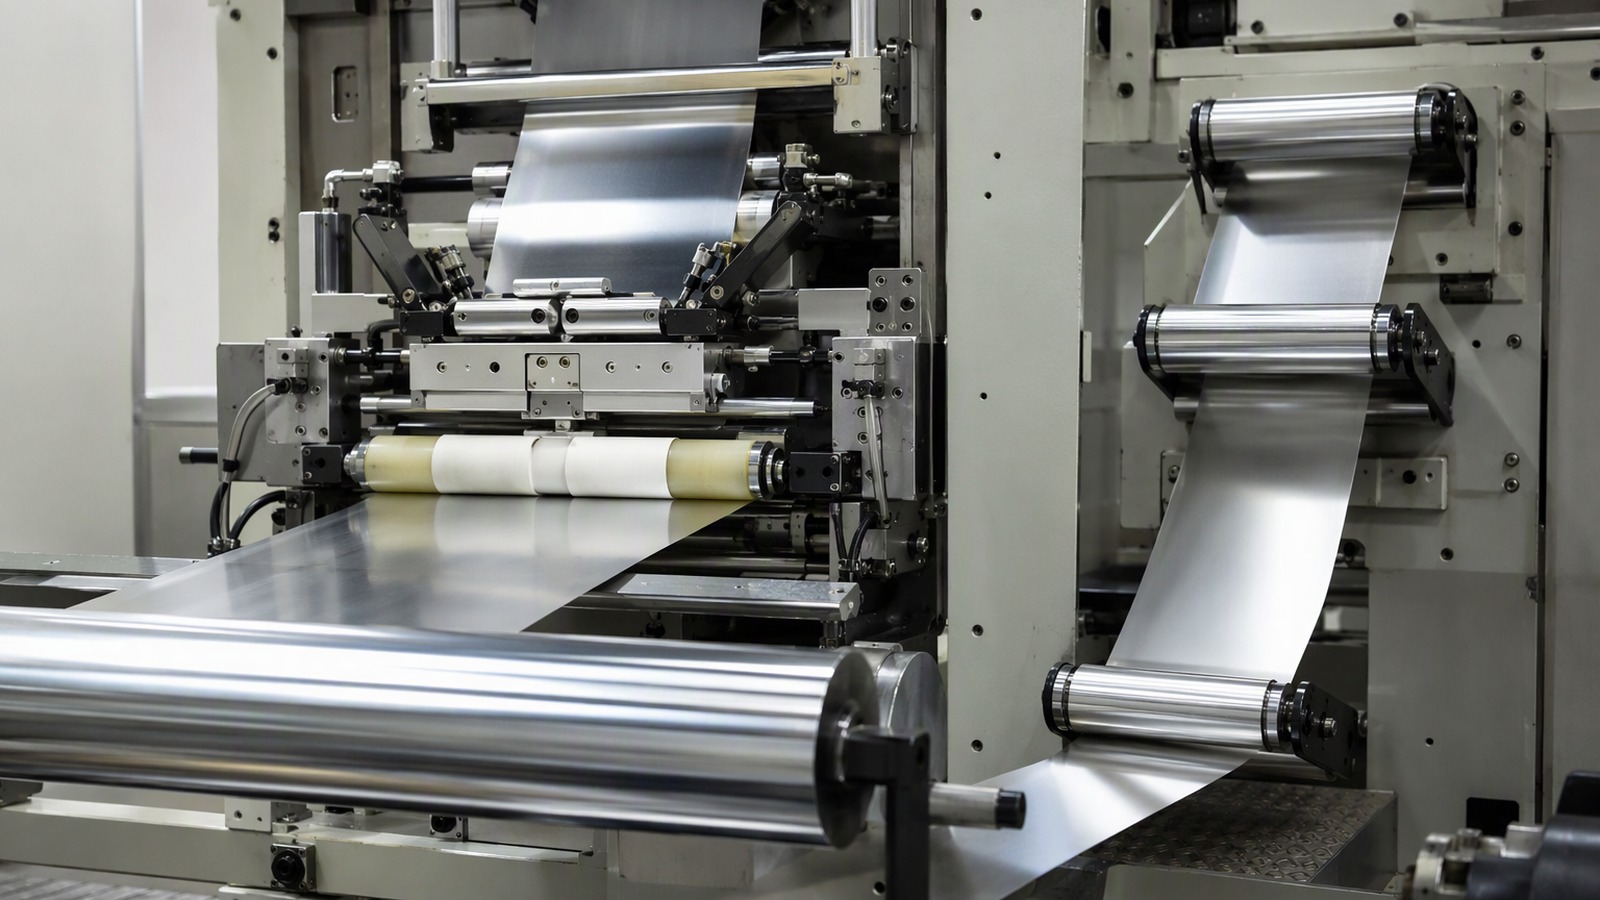
On a continuous line the web is parked in a loop between the unwind and the first process station. The loop holds enough web for a minute or two, so the unwind can stop while everything downstream keeps moving. The operator threads the new coil onto the idle mandrel, brings it to the splice position and clamps it. The old coil runs out of the loop, not out of itself: that is the trick.
The joint is made with the web stationary at the splice bar. The tail is cut square, the new lead is brought against it, the edges are aligned to one datum, and the two are taped or welded. A sound joint is flat, square and centred: no trapped air, no wrinkle, no tape overhanging the edge, no offset to steer the web later. Then the loop runs down.
The sequence is choreographed, not improvised. The line is already at speed, so the new coil must reach it without a tension spike, and the loop must refill before the next change. On a coating line the timing is tighter, because the dryer and the nip cannot be disturbed without scrap. Bodies such as European Aluminium describe the chain as a continuous process fed by discrete coils.
Why must a splice be marked, and what does the marking do?
An unmarked joint is a surprise at line speed, and a surprise at line speed is a web break, a misprint or a jam.
A marker is a physical signal at the edge or between wraps that tells the operator a joint is coming, so the line can slow, run it through knowingly, or cut.
Dive deeper
Marking takes several forms: a tab of tape folded over the edge, a flag between wraps, a stripe on the outer wrap, a note on the label and a count in the packing list. The physical marker matters most, because the operator meets the joint at the unwind and not at the paperwork. A tab standing proud of the edge is visible in a way that a printed note is not.
The purpose is timing. A press can lift impression, a laminator can open a nip, a slitter can plan a cut, a packing line can divert a length; all of that is cheap when planned and expensive when not. The marker also lets quality trace a complaint to a specific joint instead of a whole consignment, which is the difference between a correction and an argument.
A marker is not a confession that the roll is second grade. It is the declaration that makes a joint acceptable in the first place: a buyer who allows joints needs them declared, and an operator who meets them needs warning. Without it the same joint becomes a hidden defect, and hidden defects turn a normal production event into a claim. Marking converts an unknown into a known.
What does a splice do to a printing, laminating or packing line?
The joint arrives as a step in thickness, a change in stiffness and a break in the surface, and every station reacts in its own way.
A press sees an impression change and a register nudge; a laminator sees a bubble and an adhesive skip; a packing line sees a fold, a seal or a forming fault.
Dive deeper
On a press, a doubled thickness under the blanket raises impression pressure for a few revolutions. Register can shift, ink transfer changes, and on a web running tight the joint may crack or lift. The dryer is usually tolerant; the blanket and the plate are not. Many printers therefore cut at the joint and restart, which costs a make-ready but protects the rest of the run.
On a laminator the joint passes through a nip where two webs and an adhesive meet. A step there can trap air, starve the adhesive for a short distance, or leave a wrinkle that travels into the finished laminate. Heat transfer changes as well, so a cure that is right for single thickness can be marginal at the splice. The defect usually appears within a hand's width of the joint.
On a packing or form-fill line the consequences are mechanical: a fold that will not sit flat, a seal that includes tape, a forming shoulder that hesitates. Sensors react too, because a thickness gauge, a pinhole detector or a web camera may alarm at the joint and stop the line, which is often correct. Product detail is on the aluminium foil roll and sheet page, and industry context at the aluminium association.
Why does the joint behave differently from the foil on either side, even when it is well made?
Because the joint is a composite: metal plus tape, or metal plus a bond line, with a step at each boundary.
Thickness, stiffness, friction and heat transfer all change locally, and a taped joint carries load through adhesive rather than through continuous metal.
Dive deeper
Foil at 0.03 mm bends under almost no load; a joint adds a second ply and tape, so local stiffness can be several times that of the parent metal. The web stops behaving like a membrane: it resists bending, springs back, and can steer the web if the lap is not square. A ridge also changes the path over a roll, so tracking can drift for a few metres, as in why an aluminium foil roll telescopes.
In a taped joint the tensile load crosses from one foil to the other through adhesive and carrier, not through continuous metal. The foil either side can carry more than the joint can, so the joint is the weakest link in tension even when perfectly made. In a welded joint the metal is continuous again, but the bonded zone has its own grain and different ductility.
Heat transfer differs too. A double thickness heats more slowly in a dryer and cools more slowly after a nip, so a coating can cure differently where the joint sits. Surface energy differs as well, because tape is not aluminium: inks, adhesives and lacquers wet it differently, and a sealant will not bond to it. None of this is a fault; it is what a joint is.
How should a buyer describe splice requirements in a purchase order?
Not with borrowed numbers, but with clear statements of what is allowed, what must be declared and what the line can absorb.
Say whether joints are accepted, that each must be marked, and which joint constructions suit your process. Leave counts and intervals to be agreed in writing, then confirm alloy, temper, gauge, width and core.
Dive deeper
Start with acceptance. A purchase order should state whether the roll may contain joints, whether they are acceptable only in certain products, or whether the order is joint-free. Vague wording such as good quality is not a specification, it is a hope. If joints are accepted, add that each must be marked and the marker visible at the unwind.
Then the quantities. How many joints a roll may carry, and how much running length must separate them, are commercial and technical agreements between buyer and supplier. They depend on alloy, gauge, width, coil mass and the process downstream, and belong in your own purchase order, in your own units, not copied from another mill's sheet. Ask what your supplier can declare, then write what you agreed.
Finish with the ordinary parameters, because a joint rule only means something on a defined product: alloy from 1050, 1060, 1100, 1235, 3003, 3004, 8011, 8021 or 8079; temper from O, H14, H16, H18, H22 or H24; thickness between 0.005 mm and 0.20 mm; width from 100 mm to 1500 mm; core 76 mm or 152 mm; minimum 3 MT per size; and a port such as Qingdao, Tianjin or Shanghai. Two common products are 0.03 mm aluminium foil in 1235 and 0.1 mm aluminium foil in 3003.
What should an operator do when a splice reaches the machine?
Slow down, decide, and record. The joint is a known event by then, so the response should be a procedure rather than a reaction.
Confirm the marker, reduce speed before the joint reaches the critical station, run it through or cut as the work instruction says, inspect afterwards, and log what happened.
Dive deeper
The first move happens before the joint arrives. If the marker is visible at the unwind, the operator has time: reduce speed, warn the next station, check whether the work instruction calls for a cut, and prepare a leader if the web is rethreaded. Waiting until the joint is at the nip removes all of those options and turns a controlled passage into a stoppage.
At the joint, watch behaviour rather than the clock. A joint that lifts, wrinkles or steers tells you the splice was not square or not flat; one that passes quietly is doing its job. Do not pull the tape to test it, and do not press a lifted joint flat by hand on a running web. If the process allows, cut upstream and restart on sound metal.
Afterwards, record it: roll number, position, what the joint looked like and what the line did. That record lets buyer and supplier discuss joints with evidence, not impressions, and it is how the next order gets a better rule. Industry background on foil applications is collected by Alufoil, and the principle is older.
A splice is a joint with consequences: declare it, mark it, write the rule into the order, and plan the cut before the line meets it.